How to add Font Awesome to a Gatsby site
June 7, 2020In this post, I'll show you how to add Font Awesome to a Gatsby site.
Getting Started
Let's start by creating a Gatsby project and adding all the necessary dependencies:
mkdir gatsby-fontawesome-example
cd gatsby-fontawesome-example
# Create package.json file
npm init -y
# Install Gatsby and Font Awesome dependencies
npm i --save gatsby react react-dom
npm i --save @fortawesome/fontawesome-svg-core
npm i --save @fortawesome/free-solid-svg-icons
npm i --save @fortawesome/react-fontawesome
# Create index page
mkdir -p src/pages && touch src/pages/index.js
Check the docs for more information about creating a Gatsby site and using Font Awesome in a React app.
Add the following scripts to the package.json:
"scripts": {
  "develop": "gatsby develop",
  "build": "gatsby build",
  "serve": "gatsby serve"
}
And paste the following code in the src/pages/index.js file:
import React from 'react'
import { FontAwesomeIcon } from '@fortawesome/react-fontawesome'
import {
  faCoffee,
  faAddressBook,
  faAirFreshener,
  faAmbulance,
  faAtom,
  faBus,
  faCoins,
  faDice,
} from '@fortawesome/free-solid-svg-icons'

const IndexPage = () => (
  <main
    style={{
      maxWidth: '608px',
      margin: '0 auto',
    }}
  >
    <h1 style={{ textAlign: 'center' }}>
      Gatsby Font Awesome example
    </h1>
    <div>
      <FontAwesomeIcon icon={faCoffee} size="1x" />
      <FontAwesomeIcon icon={faAddressBook} size="2x" />
      <FontAwesomeIcon icon={faAirFreshener} size="3x" />
      <FontAwesomeIcon icon={faAtom} size="4x" />
      <FontAwesomeIcon icon={faAmbulance} size="5x" />
      <FontAwesomeIcon icon={faBus} size="6x" />
      <FontAwesomeIcon icon={faCoins} size="7x" />
      <FontAwesomeIcon icon={faDice} size="8x" />
    </div>
  </main>
)

export default IndexPage
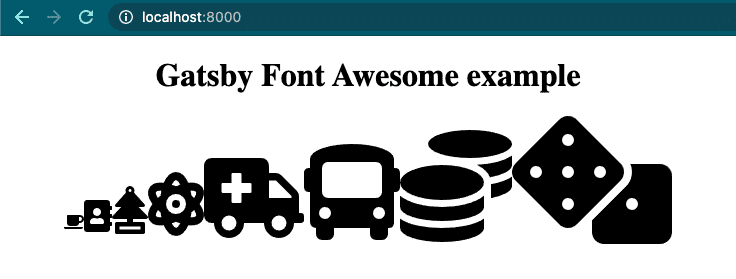
Here we're importing the FontAwesomeIcon component and all the icons we'll use (this technique is called explicit import but, you can use build a library if you prefer). We render all the icons and set the size property to change their size.
Now, let's run the app to see what we have. In the terminal run: npm run develop. The app should be running at http://localhost:8000.
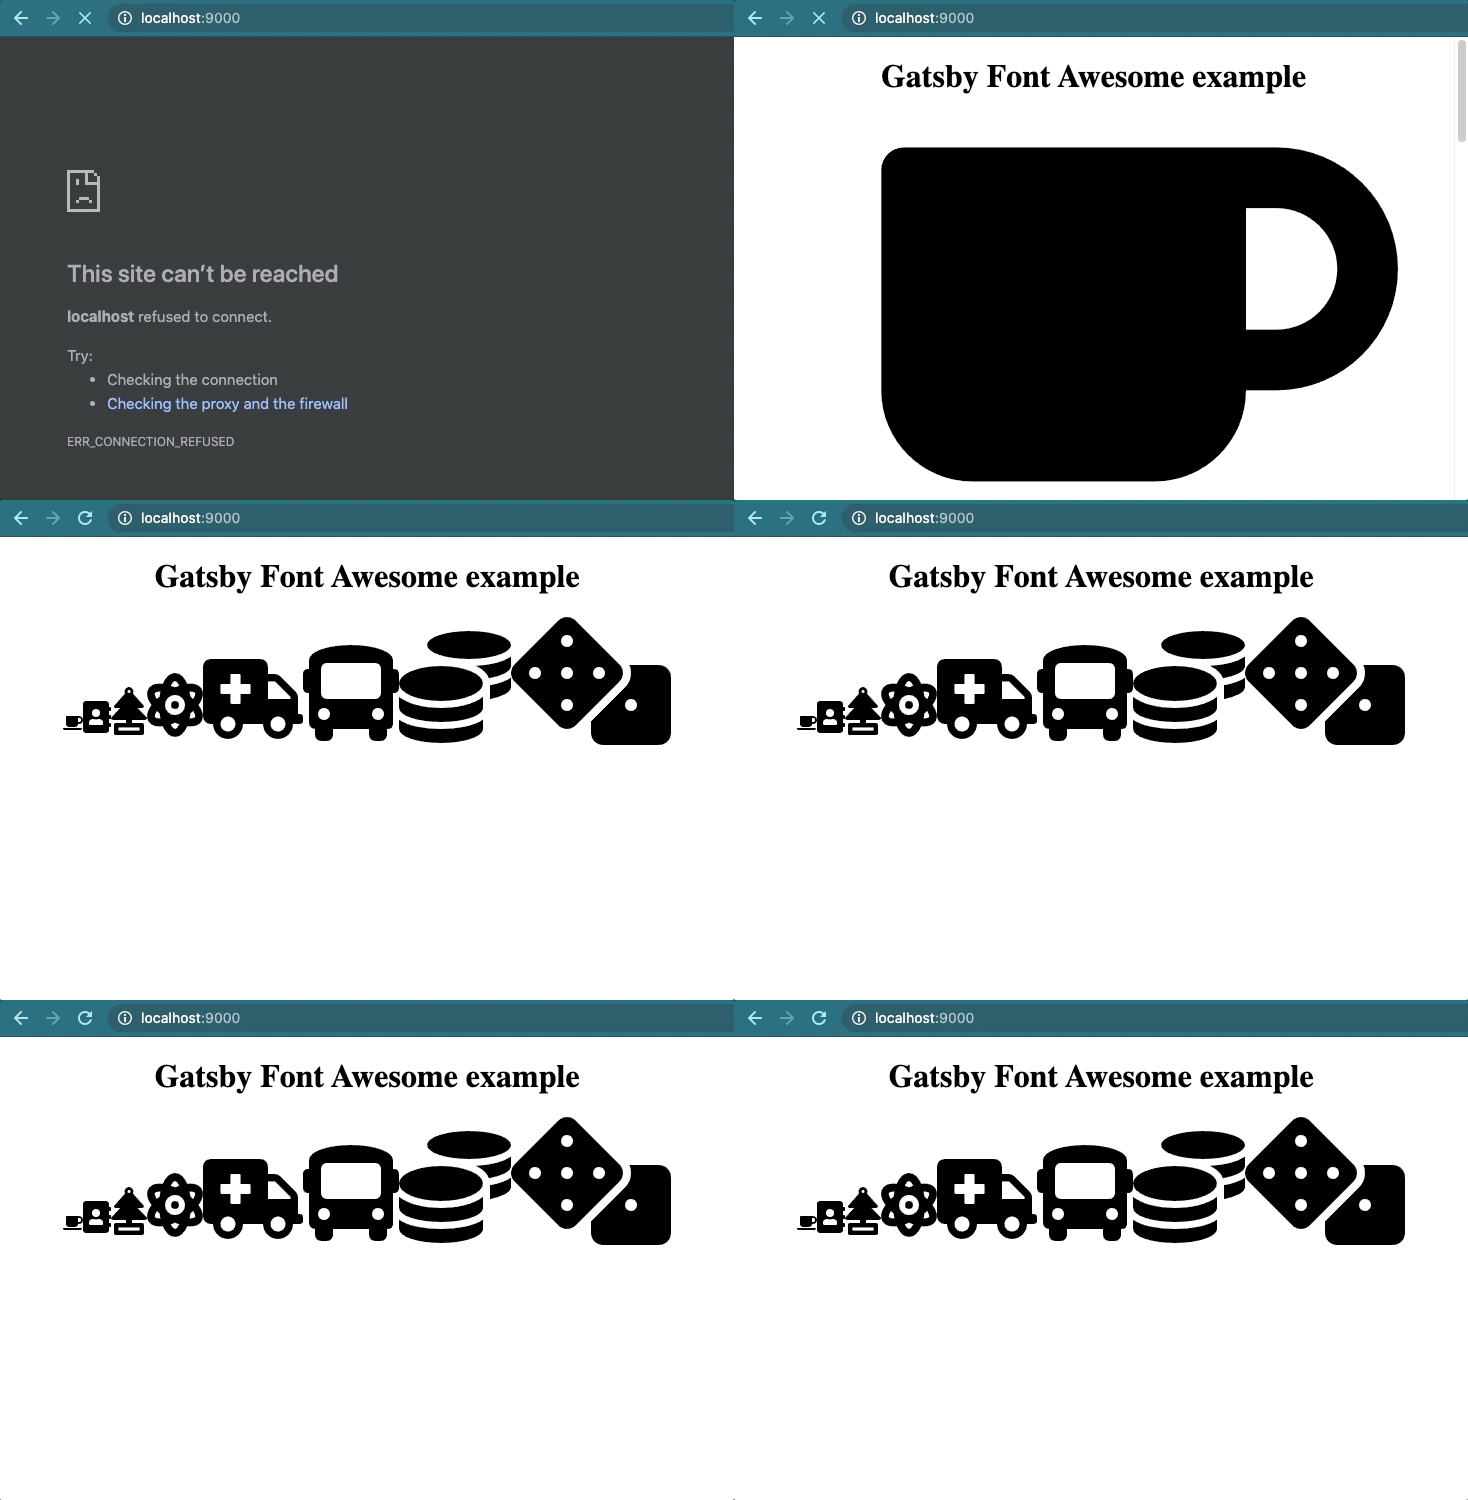
Looks good but, there is a problem. To see it, we'll need to run the production version of the app. Stop the app and run the following command: npm run build && npm run serve. The app should be running at http://localhost:9000.

What is happening here 🤔 ? Do right-click on the page and select View Page Source (I am using Chrome). Search for the class attribute of the svg tags. You'll see there are a bunch of classes. Now, go to the header tag and try to find a style tag. Because Font Awesome inserts its styles when the JavaScript code runs, there isn't one. And because of it, when you load the page, for a split second, the icons are there without styles.
Solving this issue is not difficult. One solution could be to disable the auto CSS insertion and setting the styles for the icons manually using the props className and style.
import { config } from '@fortawesome/fontawesome-svg-core'
// Disable the auto CSS insertion
config.autoAddCss = false

//...

<FontAwesomeIcon icon={faCoffee}
  className="YOUR-CLASSES"
  style={{
    // YOUR STYLES
  }}
/>
Another solution could be to insert the styles at compile time using some of the Gatsby Server Rendering APIs. And even though doing this wouldn't be hard, we don't have to. There is already a plugin that does it: gatsby-plugin-fontawesome-css (I am the author of the plugin).
To use it, we only need to install the plugin and add it to gatsby-config.js.
# Install the plugin
npm install --save gatsby-plugin-fontawesome-css
# Create a file named gatsby-config.js at the root folder
touch gatsby-config.js
Open gatsby-config.js and paste:
module.exports = {
  plugins: [`gatsby-plugin-fontawesome-css`],
}
Example project repo.
And that's all. Now the app works as expected in development and production mode. Enjoy!
